My kids LOVE the movie RIO. Not just love....but LOVE!!! They talk about it all the time, sing the songs, and pretend to be the characters. They begged to dress up like Blu and Jewel (the blue macaws from the movie) but I wasn't too excited about making them bird costumes. If I was going to put in the effort to make them costumes, I wanted them to be cheap, durabl,e and easy to get on and off to play dress up. They enjoy being able to dress up themselves, and I enjoy not being repetitively asked to help get costumes on and off all day long! I came up with the idea to make them out of felt partly due to its stiffness and durability, but also (let's be honest here) because it is easy to sew--no
hems and no fraying! Here's the scoop...

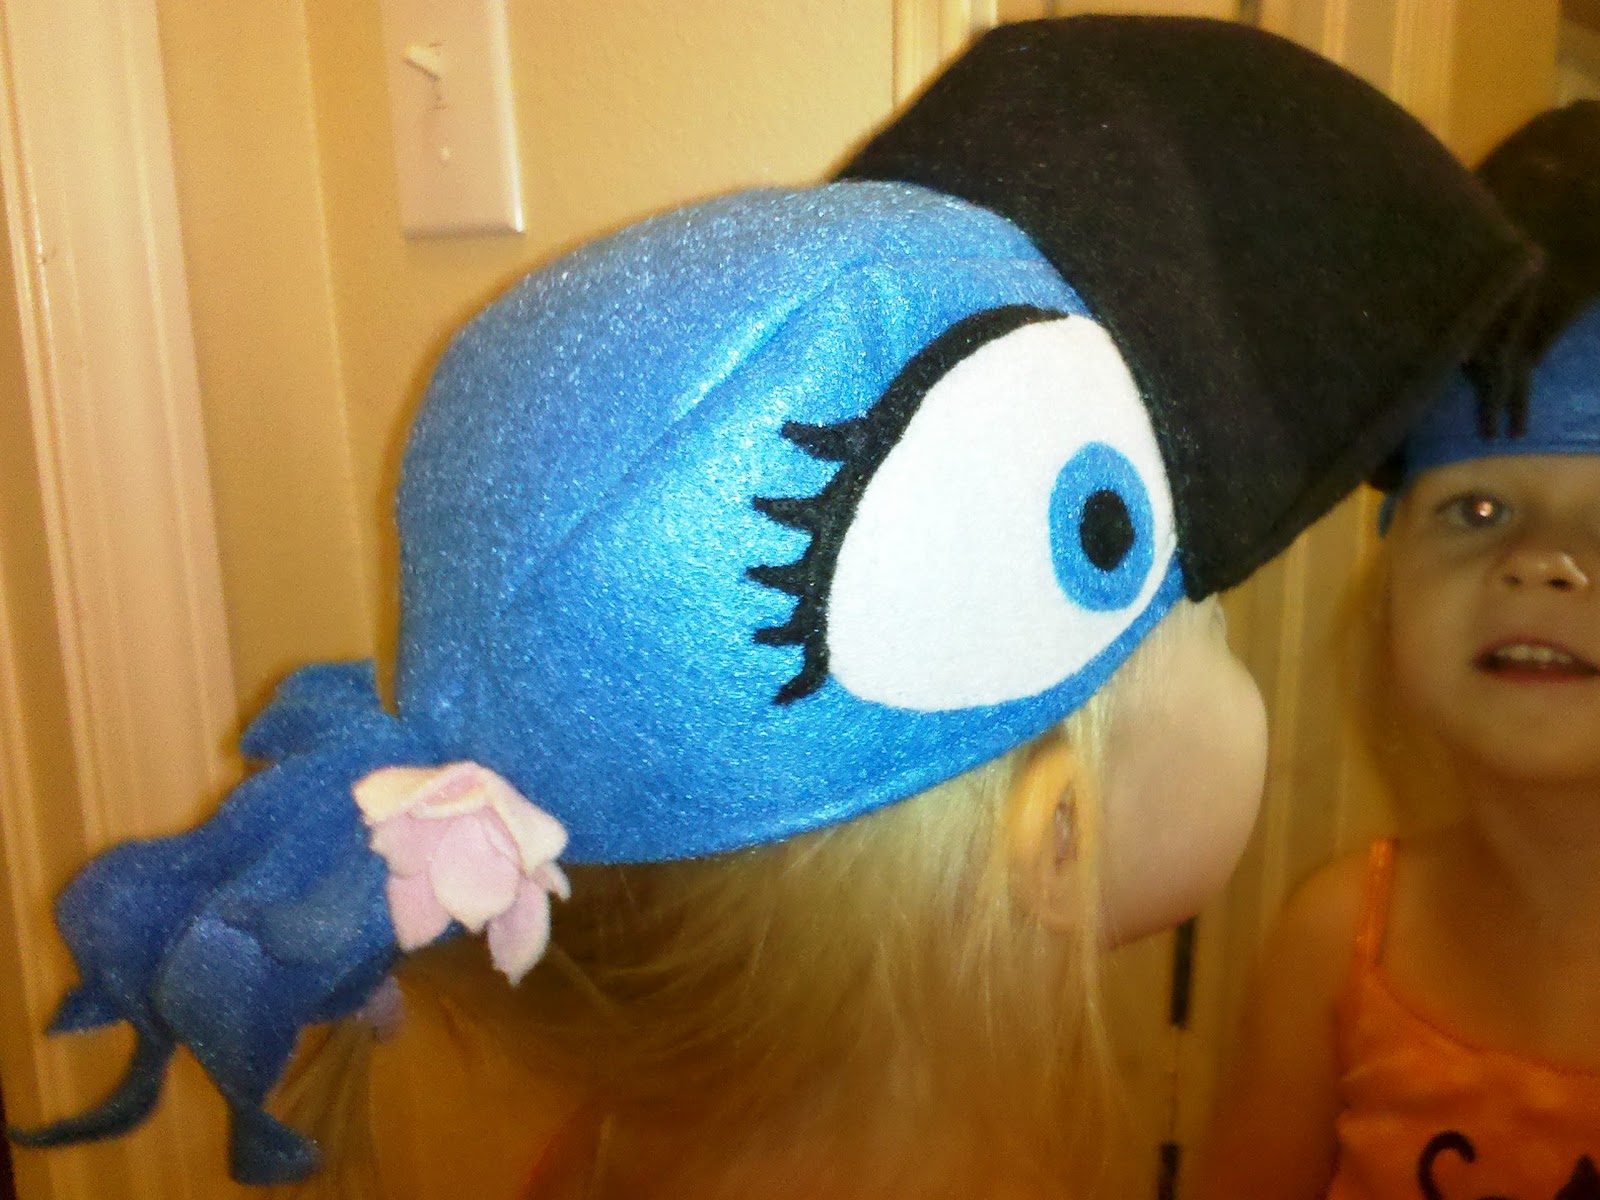
I started with one yard of blue felt (for a 2-3 year old size costume). I cut it square, then measured my son's head circumference. I added 4 inches, then cut a triangle off one corner making sure the bottom of the right triangle (the long side or hypotenuse) was the length of my son's head circumference plus 4. This small triangle will become the hat. The rest will become the "cape" or wings and tail. I cut feather shapes in the cape part and stitched arm sections. For the hat, I added double layer black felt, cut it into a beak shape, then hand stitched it onto the blue hat. I added white and brown (for Blu's eyes), and blue (for Jewel's eyes), plus some of the black felt for Jewel's eyelashes. I used some of

the blue felt scraps for the feathers on the back of the head, and some
white felt and a pink paint marker for Jewel's flower.
All three kids ADORE these costumes. They worked great for Halloween and have held up well. They are easy to spot clean and definitely durable. We've gotten a little stretch around the arm holes, but it doesn't really affect the fit. SUCCESS!!
I overestimated how much blue felt I'd need for the project and have some extra left over. I'm thinking about making some more costumes to sell on Etsy...
 |
| Completed Blu Costume |

|
| Completed Jewel Hat |


 My kids LOVE the movie RIO. Not just love....but LOVE!!! They talk about it all the time, sing the songs, and pretend to be the characters. They begged to dress up like Blu and Jewel (the blue macaws from the movie) but I wasn't too excited about making them bird costumes. If I was going to put in the effort to make them costumes, I wanted them to be cheap, durabl,e and easy to get on and off to play dress up. They enjoy being able to dress up themselves, and I enjoy not being repetitively asked to help get costumes on and off all day long! I came up with the idea to make them out of felt partly due to its stiffness and durability, but also (let's be honest here) because it is easy to sew--no
 I started with one yard of blue felt (for a 2-3 year old size costume). I cut it square, then measured my son's head circumference. I added 4 inches, then cut a triangle off one corner making sure the bottom of the right triangle (the long side or hypotenuse) was the length of my son's head circumference plus 4. This small triangle will become the hat. The rest will become the "cape" or wings and tail. I cut feather shapes in the cape part and stitched arm sections. For the hat, I added double layer black felt, cut it into a beak shape, then hand stitched it onto the blue hat. I added white and brown (for Blu's eyes), and blue (for Jewel's eyes), plus some of the black felt for Jewel's eyelashes. I used some of
  the blue felt scraps for the feathers on the back of the head, and some